 Murmurtale
 The two permissions
On first launch, Murmurtale's welcome window asks for both permissions up front. Each has a status checkmark and a button that opens the exact System Settings pane.
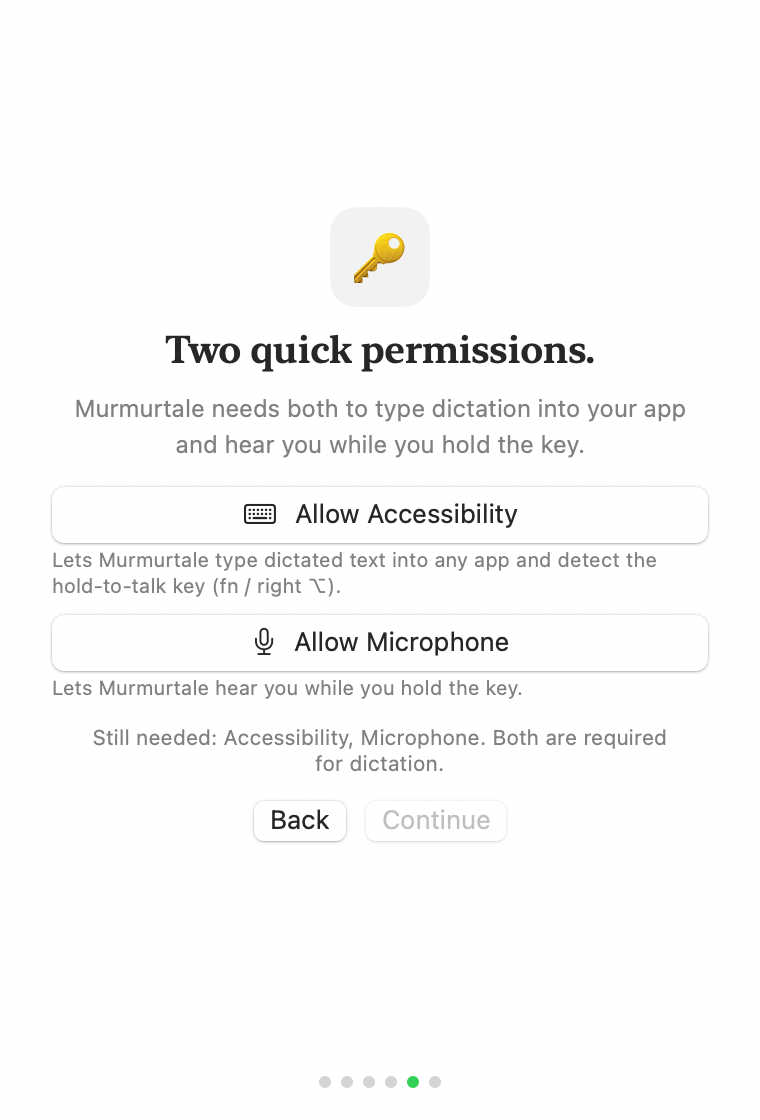
| Permission | Why Murmurtale needs it |
|---|---|
| Microphone | To hear you while you hold the key. Requested up front, not just the first time you speak. |
| Accessibility | To type the finished text into other apps and to detect the hold-to-talk key. On macOS 14 and 15 this covers key detection too. |
You do not need Input MonitoringA common worry is that dictation needs the Input Monitoring permission. Murmurtale does not. A listen-only keyboard tap works under Accessibility alone on macOS 14 and 15, so Accessibility plus Microphone is the complete list.
Granting them
- In the welcome window, click Grant next to Microphone and approve the prompt.
- Click Grant next to Accessibility. This opens System Settings at Privacy & Security → Accessibility. Turn Murmurtale on. If it is not listed, click the plus button and add it from your Applications folder.
- The welcome window notices each grant within a second or two. Continue un-greys once both are set, and it names anything still missing.

If a permission gets lost
If either permission is later turned off, Murmurtale tells you plainly. The pill and menu say exactly which one is missing — for example "Microphone access needed" or "Keyboard access lost — click to fix" — and clicking opens the right pane with instructions.
One-time re-grant after a signing changeIf you move from a development build to a signed release build, macOS invalidates the old grants once. Toggle Murmurtale off and back on in both the Accessibility and Microphone panes a single time; after that they stay put across updates.